Weight Distribution Hitch Setup: The Right Way to Level Your Rig
A Weight Distribution Hitch (WDH) doesn't add a single pound to your truck's towing capacity. If your dealer told you otherwise, they lied. A WDH is a tool for balance, not for overloading. Here's how to set it up so your front tires actually stay on the road.
When you hook a trailer to a bumper-pull hitch, the tongue weight pushes down on the rear axle. The rear squats. The front lifts. Your headlights aim at the tree line instead of the road. Your front tires lose contact pressure. Steering goes vague. Braking distance increases. That's the truck telling you the weight distribution is wrong.
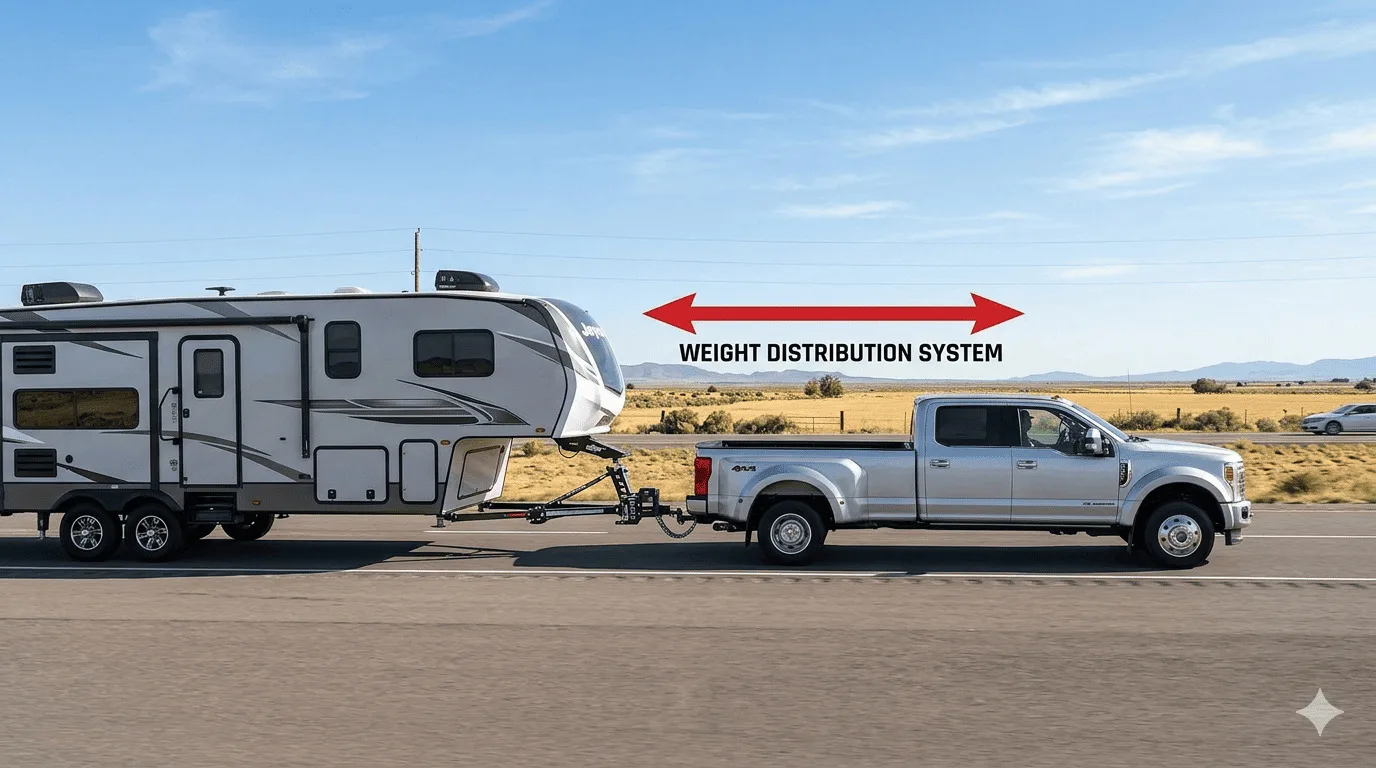
A WDH fixes this by using spring bars to transfer a portion of the tongue weight from the rear axle back to the front axle and the trailer's axles. The truck levels out. Steering firms up. Headlights point at the road. The rig drives like it's supposed to. But only if you set it up correctly. A badly adjusted WDH is worse than no WDH at all — it either doesn't do enough or it does too much and unloads the rear tires.
Before you start, know your numbers. Run your trailer tongue weight to confirm you're in the 10-15% range. Check your towing capacity to make sure the rig isn't over GVWR before you even think about adjusting the hitch.
What You Need
A tape measure. You'll be measuring fender heights four or five times during this process. A standard 16-foot tape works fine.
Blue painter's tape and a marker. Mark your measurement points on the fender lip so you measure the same spot every time. Inconsistent measurement points make the whole process useless.
Wheel chocks. The truck and trailer need to be parked on flat, level ground. Chock the trailer wheels before you start — the trailer will rock when you engage and adjust the spring bars.
A torque wrench. The hitch head bolts and ball mount bolts have specific torque specs. Check your WDH manufacturer's manual. Over-torquing cracks the shank. Under-torquing lets the head rotate under load. Both are dangerous.
The WDH manufacturer's manual. Every system is slightly different. Curt, Equalizer, Blue Ox, Husky, Reese — they all have specific chain link counts, bar angles, and tension procedures. Read the manual for your unit before you start turning wrenches.
The 3-Step Setup Process
Baseline Measurement — Truck Empty, No Trailer
Park the truck on flat, level pavement — a garage floor or level driveway works. No trailer connected. No extra cargo in the bed. Full tank of fuel. Nobody sitting inside.
Measure from the ground to the top of the front wheel well opening (the highest point of the fender lip directly above the center of the tire). Write it down. Now do the same for the rear wheel well. Write it down.
Put a strip of painter's tape at each measurement point and mark it with a line. You'll measure these exact spots four more times during the process. If you measure a different spot each time, your numbers drift and the setup is wrong.
These two numbers — front baseline and rear baseline — are your targets. The goal of the entire WDH adjustment is to get the loaded, connected rig back to within 1/2 inch of these baseline measurements at the front. That's the SAE J2807 standard for proper weight distribution.
The Squat — Trailer Connected, Spring Bars NOT Engaged
Hook the trailer to the WDH head. Ball mount in the receiver, hitch pin secured, coupler latched on the ball, safety chains crossed. Raise the trailer tongue jack all the way so the trailer's full tongue weight is sitting on the hitch ball.
Do NOT lift the spring bars yet. Leave them hanging. This step is about seeing the damage — how much the tongue weight unbalances the truck before the WDH does its job.
Measure the front and rear wheel wells again at your tape marks. You'll see two things: the rear dropped (squat) and the front rose (lift). On a typical half-ton with 800 Lbs of tongue weight, expect the rear to drop 1.5-3 inches and the front to rise 1-2 inches. Write both numbers down.
The difference between your baseline front measurement and this new front measurement is the "lift" — that's how much front-tire contact you've lost. That's the number the spring bars need to correct.
The Correction — Engage Spring Bars and Tension
Now lift the spring bars into the WDH brackets on the trailer frame. Attach the tensioning chains to the spring bar ends. Start with the chain link count recommended in your WDH manual — this is your starting point, not the final setting.
Tighten progressively. Snap the chains onto the bars at the recommended link. Lower the tongue jack until the trailer coupler is fully seated and the jack wheel is off the ground. Measure the front and rear wheel wells.
Compare the front measurement to your Step 1 baseline. If the front is still more than 1/2 inch higher than baseline, the bars need more tension. Crank the tongue jack back up, move the chains one link tighter (shorter), lower the jack, and measure again.
Repeat until the front fender height is within 1/2 inch of the empty baseline. The rear will still be slightly lower than baseline — that's normal and expected. The tongue weight has to sit somewhere. The WDH distributes it, but it doesn't make it disappear.
The Fender Measurement Log
Use this table to track your numbers through each step. Fill it in during the setup or print it and bring it to the driveway.
| Measurement Stage | Front Wheel Well | Rear Wheel Well | Front Δ from Baseline |
|---|---|---|---|
| Step 1: Truck Empty (Baseline) | — (baseline) | ||
| Step 2: Trailer On, No Bars | — | ||
| Step 3a: Bars Engaged (1st Adj.) | — | ||
| Step 3b: Bars Tightened (2nd Adj.) | — | ||
| Step 3c: Final Setting | — |
This is the most common WDH setup error and it's the most dangerous one. If you crank the spring bars too tight, the rear of the truck lifts. The rear tires lose contact pressure. You've transferred too much weight off the rear axle.
The symptoms: the rear tires spin on wet pavement, the truck feels "floaty" in the back end, and the trailer's tongue bounces on rough roads because there's not enough downward force holding the coupler to the ball. In extreme cases, over-tensioned bars can lift the trailer tongue enough to pop the coupler off the ball entirely.
The rule: if the rear fender height exceeds the empty baseline, you've gone too far. Back off the chains one link and re-measure. The rear should always sit below baseline — the tongue weight is real and it has to land somewhere. The WDH just makes sure it doesn't all land on one axle.
Choosing the Right Ball Mount
Rise vs. Drop: Getting the Shank Right
The ball mount shank determines whether the hitch ball sits higher or lower than the receiver tube. A "drop" shank angles the ball down for trucks that sit higher than the trailer coupler. A "rise" shank angles it up for the opposite. Some shanks are adjustable with multiple ball positions.
The goal: the trailer should be level when connected. Look at the trailer from 50 feet behind. If the tongue is angled down (nose-diving), you need more rise. If the tongue is angled up, you need more drop. A level trailer distributes its own internal weight evenly across its axles, which affects how much tongue weight reaches your hitch.
| Truck Height vs. Trailer Coupler | Shank Type | Typical Range |
|---|---|---|
| Truck receiver higher than coupler | Drop shank | 2″ – 10″ drop |
| Truck receiver level with coupler | Flat / no offset | 0″ |
| Truck receiver lower than coupler | Rise shank | 2″ – 6″ rise |
| Lifted truck, low trailer | Extended drop shank | 6″ – 12″ drop |
Ball Size Matters
WDH heads accept specific ball sizes — usually 2" or 2-5/16". The ball must match the trailer coupler exactly. A 2" ball in a 2-5/16" coupler will latch but won't seat properly. Under towing stress, it can pop out. Check both the ball and coupler sizes before you hook up. Stamp markings are on both — the ball shank and the coupler latch housing.
Sway Control: The Second Layer
Many WDH systems include integrated sway control — friction pads, dual cams, or rotational resistance mechanisms that fight trailer sway at the coupler. If your system has sway control, set it up after the spring bar tension is dialed in. The two adjustments are independent.
Friction-based sway control (like the Equalizer 4-point system) uses the spring bars themselves to create rotational resistance. The bars sit in the brackets with enough friction to dampen side-to-side movement. Cam-style systems (like Reese Dual Cam) use separate hardware that clamps to the trailer frame and physically redirects lateral forces into the spring bars.
Either way, the sway control setting should allow normal turning at low speed (parking lots, backing up) without binding. If the trailer resists turning in a parking lot, the sway control is too tight. If the trailer oscillates freely at highway speed, it's too loose. Set it in the middle and fine-tune after a test drive.
The Test Drive Checklist
After setup, take a 5-mile test drive on local roads before hitting the highway. Here's what you're checking:
Steering feel. The truck should steer like it did empty — firm, responsive, no wandering. If the steering feels light or vague, the front tires don't have enough weight. The spring bars need more tension.
Rear tire traction. Accelerate gently from a stop on a clean, dry road. If the rear tires chirp or feel like they're slipping, the spring bars are over-tensioned and you've unloaded the rear axle. Back off one chain link.
Trailer tracking. At 30-40 mph on a straight road, look in your mirrors. The trailer should follow directly behind the truck — no drift, no oscillation, no constant correction needed.
Bump behavior. Hit a speed bump or railroad crossing at 15 mph. The trailer tongue should not bounce off the ball. If you hear metallic clunking at the coupler, the tongue weight is too light or the bars are over-tensioned. Either the trailer needs more forward cargo weight, or the bars need to come down a link.
Headlight aim. Park facing a garage wall at night. The headlight beams should hit the wall at roughly the same height as they did before the trailer was connected. If the beams are aimed high (lighting up the top of the wall), the front end is still lifted — the WDH needs more tension.
A WDH is a balance tool. It takes the tongue weight that's overloading the rear axle and redistributes a portion to the front axle and the trailer axles. It does not increase any rating on your truck. It does not let you tow a heavier trailer. It does not replace proper tongue weight loading. What it does — when set up correctly — is make a properly loaded rig handle the way the engineers intended. Measure twice. Tighten once. Drive safe.